


【折腾笔记】在Artalk中使用Upgit上传图片
本文最后更新于 2025-08-11,文章可能存在过时内容,如有过时内容欢迎留言或者联系我进行反馈。
前言
从 v2.8.4 版本开始,为了增强安全性,Artalk 不再允许指定 UpGit 的可执行文件路径,目前我使用的Artalk的版本是v2.9.1。
这里主要介绍通过 Docker 部署的 Artalk 使用Upgit上传图片到兰空图床。兰空图床的部署可参考【Docker】搭建一个简单且实用的图床 - Lsky Pro,这里不再进行赘述。
教程
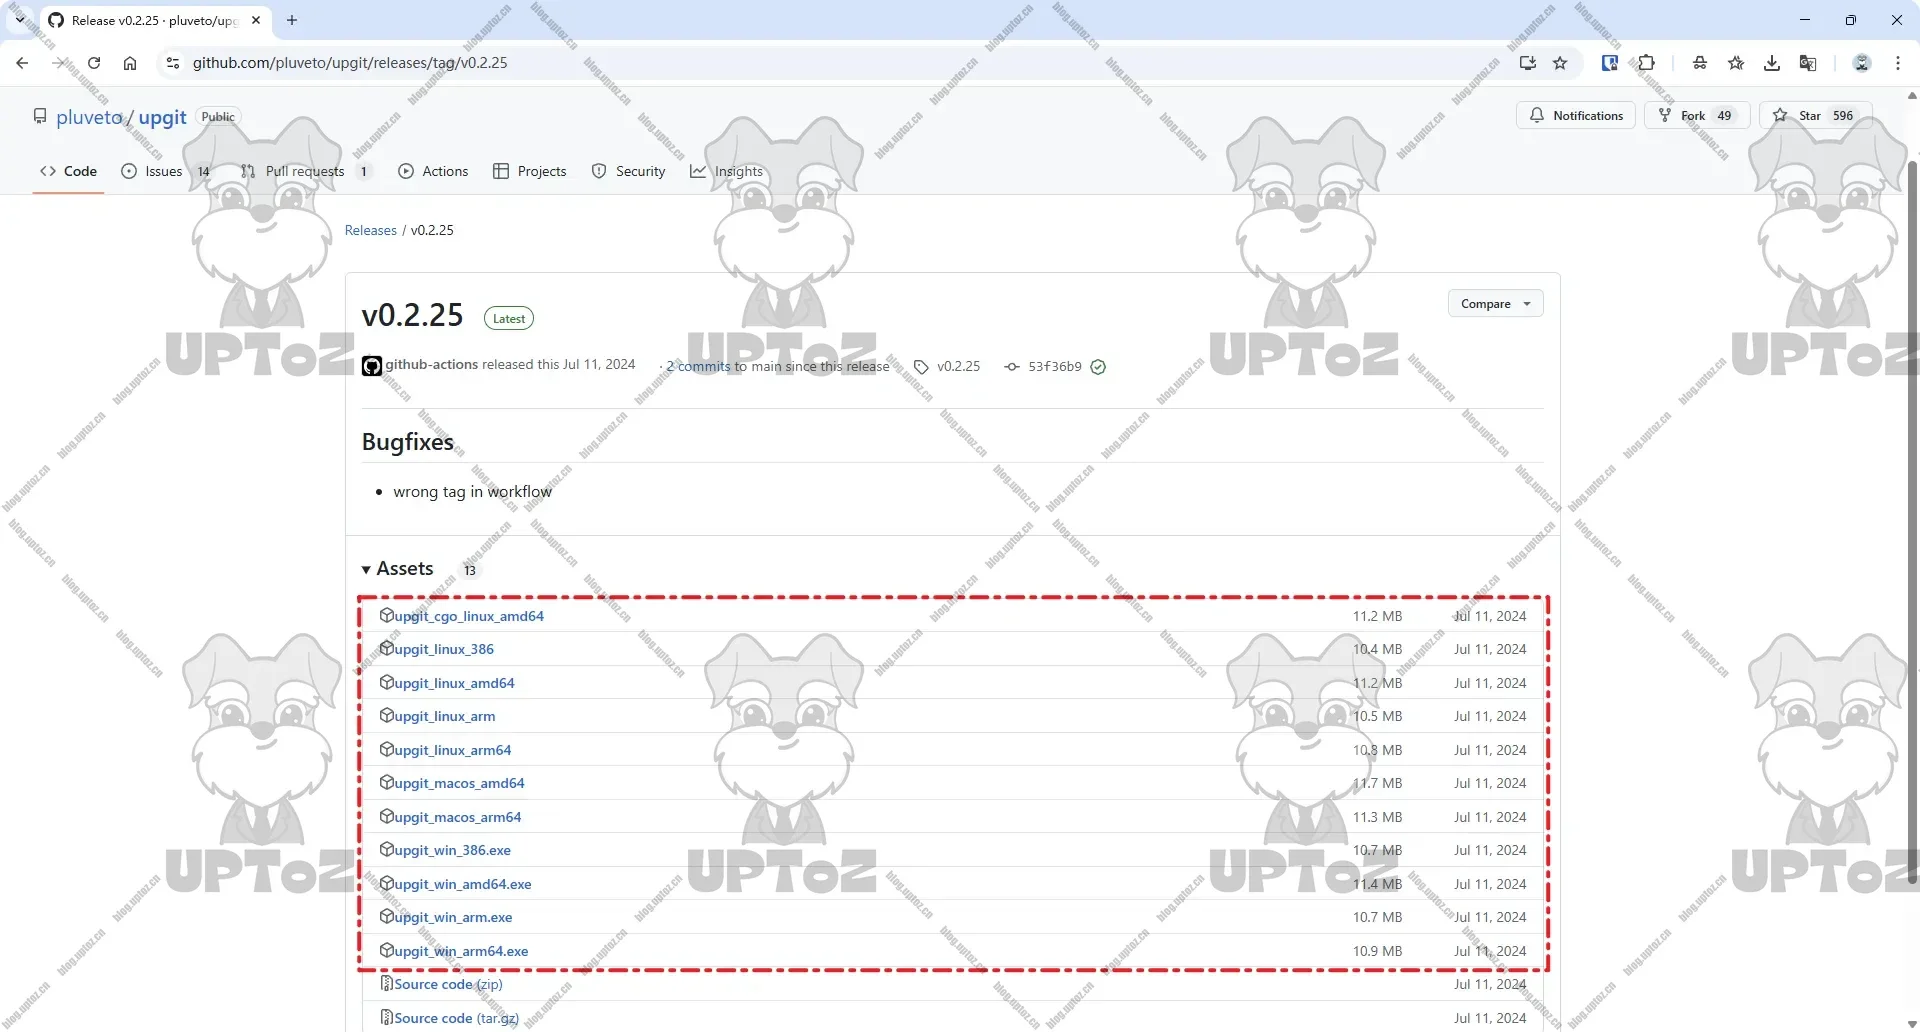
首先要在GitHub下载Upgit(https://github.com/pluveto/upgit),根据自己的系统选择对应的版本进行下载。
创建Upgit的配置文件,命名为
config.yaml。请自行将以下配置进行修改,
host替换成你的兰空图床的访问域名,token替换成你的兰空图床用于接口访问的token。[uploaders.lskypro2] host = "https://xxx.xx" token = "Bearer 1|TRtoCj8tQm3RYGp6TL9VjXvmrg4Zybls8vkaW6dsaokhndoi"# ============================================================================= # UPGIT Config # ============================================================================= # default uploader id default_uploader = "lskypro2" # The file name formatting template was uploaded # / The directory separator is used to distinguish directories # {year} Year, for example: 2022 # {month} Month, for example: 02 # {day} Day, for example: 01 # {unix_ts} Time stamp, for example: 1643617626 # {fname} Original file name, such as logo (without suffix) # {fname_hash} MD5 hash value of {fname} # {ext} File name suffix, for example: .png # The following example generates a file name preview: 2022/01/upgit_20220131_1643617626.png rename = "{year}/{month}/upgit_{year}{month}{day}_{unix_ts}{ext}" # ----------------------------------------------------------------------------- # Custom extra output formats # ----------------------------------------------------------------------------- # {url} direct URL of the file [output_formats] "bbcode" = "[img]{url}[/img]" "html" = '<img src="{url}" />' "markdown-simple" = "" # ----------------------------------------------------------------------------- # URL replacing rules. RawUrl -[replace]-> Url # ----------------------------------------------------------------------------- # If your network access to Github is abnormal or sluggish, you can try the following CDN acceleration. # [replacements] # "raw.githubusercontent.com" = "cdn.jsdelivr.net/gh" # "/master" = "@master" # ============================================================================= # Configurations examples for some uploaders, leave them blank if not used # ============================================================================= # Github uploader [uploaders.github] # Branch to save files, for example master or main branch = "master" # "pat" enter the Github token that has the "repo" permission # Get token from https://github.com/settings/tokens pat = "ghp_XXXXXXXXXXXXXXXXXXXXXXXXXXXXXXXXXXXX" # The name of your public Github repository # Attention: In order for you and others to access image resources, your Github repository must be public. # In private repositories Github blocks unauthorized requests and you will get a 404. repo = "repo-name" # your Github username username = "username" # SMMS Uploader [uploaders.smms] # Get token from https://sm.ms/home/apitoken token = "xxxxxxxxxxxxxxxxxxxxxxxxxxxxxxxx" # Imgur Uploader [uploaders.imgur] # Get token from https://api.imgur.com/oauth2/addclient # See your apps in https://imgur.com/account/settings/apps client_id = "xxxxxxxxxxxxxxxxxxxxxxxxxxxxxxxx" # Chevereto Uploader [uploaders.chevereto] key = "c8f8f8f8f8f8f8f8f8f8f8f8f8f8f8f8f8f8f8f8" upload_url = "https://chevereto.com/api/v1/upload" # Qcloudcos Uploader [uploaders.qcloudcos] host = "xxx.cos.ap-chengdu.myqcloud.com" secret_id = "xxxxxxxxxxxxxxxxxxxxxxxxxxxxxxxxxxxx" secret_key= "xxxxxxxxxxxxxxxxxxxxxxxxxxxxxxxx" # Qiniu cloud [uploaders.qiniu] # Generate Token: http://jsfiddle.net/gh/get/extjs/4.2/icattlecoder/jsfiddle/tree/master/uptoken token = "xxxxxxxxxxxxxxxxxxxxxxxxxxxxxxxxxxxxxxx:xxxxxxxxxxxxxxxxxxxxxxxxxxx:xxxxxxxxxxxxxxxxxxxxxxxxxxxxxxxxxxxxxxxxxxxxxxx==" prefix = "https://cdn.mydomain.com/" # Gitee [uploaders.gitee] username = "username" repo = "repo-name" # https://gitee.com/profile/personal_access_tokens/new access_token = "xxxxxxxxxxxxxxxxxxxxxxxxxxxxxxxx" [uploaders.cloudinary] cloud_name = "my_cloud" upload_preset = "preset_name" [uploaders.easyimage] request_url = "https://img.545141.com/api/index.php" token = "1c17b11693cb5ec63859b0ccccccccccc" [uploaders.lskypro2] host = "https://xxx.xx" token = "Bearer 1|TRtoCj8tQm3RYGp6TL9VjXvmrg4Zybls8vkaW6dsaokhndoi"创建
lskypro2.jsonc扩展文件,并将其放入extensions文件夹内。{ "meta": { "id": "lskypro2", "name": "LskyPro2 Uploader", "type": "simple-http-uploader", "version": "2.0.0", "repository": "" }, "http": { "request": { "url": "$(ext_config.host)/api/v1/upload", "method": "POST", "headers": { "Content-Type": "multipart/form-data", "Authorization": "$(ext_config.token)", "User-Agent": "Mozilla/5.0 (Windows NT 10.0; Win64; x64) AppleWebKit/537.36 (KHTML, like Gecko) Chrome/98.0.4758.80 Safari/537.36" }, "body": { "file": { "type": "file", "value": "$(task.local_path)" }, "token": { "type": "string", "value": "$(ext_config.token)" } } } }, "upload": { "rawUrl": { "from": "json_response", "path": "data.links.url" }, "errorMessage": { "from": "json_response", "path": "message" } } }使用 Docker 部署 Artalk,可以将 Upgit可执行文件挂载到容器中。
我将所有Upgit的可执行文件放入到了宿主机上的tool文件夹内。
以下是我的目录结构
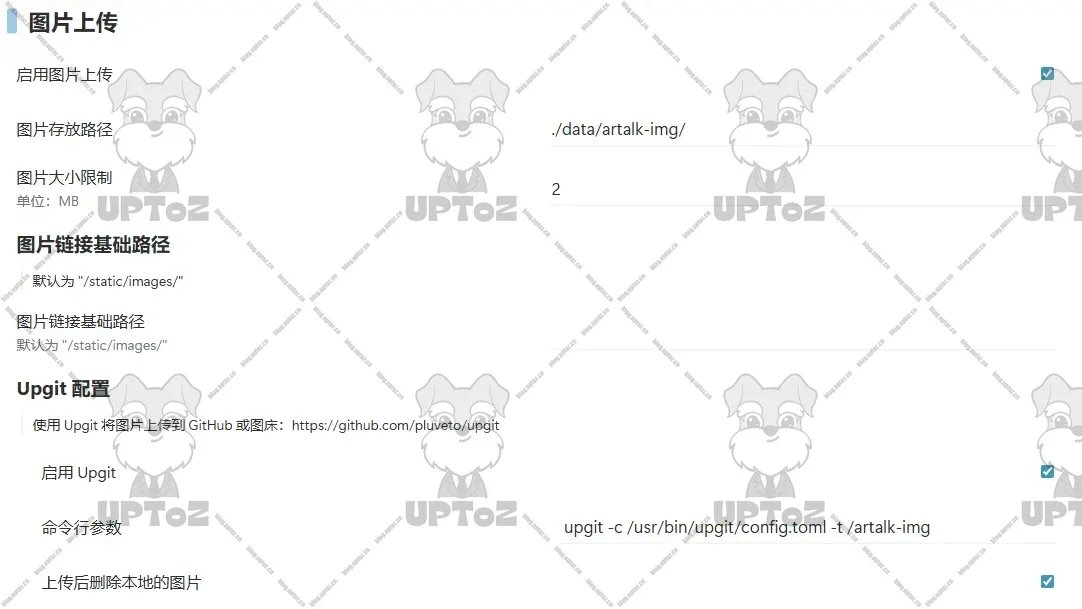
/vol1/1000/Docker/artalk/data/
├── artalk-img/
├── tool/
│   ├── extensions/
│   │   └── lskypro2.jsonc
│   ├── config.toml
│   ├── history.log
│   ├── upgit
│   └── upgit.log
├── artalk.db
├── artalk.log
├── artalk.yml
└── ip2region.xdb
version: '3.8' services: artalk: image: artalk/artalk-go:latest # 使用 Go 语言版本镜像 container_name: artalk restart: always # 自动重启 ports: - "23366:23366" # 宿主机端口:容器端口 volumes: - ./data:/data # 持久化配置文件及数据库 - ./data/tool:/usr/bin/upgit environment: TZ: Asia/Shanghai # 设置为中国时区 PATH: "/usr/bin/upgit:${PATH}" #将upgit加入系统的环境变量中在Artalk后台中配置「图片上传」。

- 感谢你赐予我前进的力量
-
 微信
微信  支付宝
支付宝
赞赏者名单
因为你们的支持让我意识到写文章的价值🙏


评论
隐私政策
你无需删除空行,直接评论以获取最佳展示效果
